Traveling as a vegan doesn't have to be hard. Finding vegan food while traveling doesn't have to be intimidating. Your travel experience doesn't have to be limited due to your veganism.
We've traveled as a vegan family for years with success. Have we learned a few tips and tricks along the way? Absolutely. Here they are...
Vegan Travel Food: Pro Tips
Easy Vegan Meals You Can Make While Traveling Anywhere
Additional Vegan Travel Food Tips
- What About Leftovers?
- Some Tips on Grains
- Grocery Shopping When You Don’t Speak the Language
- No Salt? No Oil? No problem!
- Cooking Whole Potatoes in the Microwave
- Bring Your Own Knife
The Benefits of Having a Kitchen While Traveling
My first tip for vegan travel food is to book accommodation with a kitchen.
Traveling as a vegan family, especially one with a baby (and then toddler... and now preschooler), has led us to seek out accommodations that have kitchens.
Accommodations with a kitchen not only save you money in the long run, but they allow you to choose when you’d like to eat out and when you’d like to stay “home”. This also allows for some flexibility if you’re staying in an area that doesn’t have a lot of variety in vegan-friendly restaurants.
Having your own kitchen becomes especially important when the little ones are, well… little. That evening witching hour is no joke! Plus, it allows for easier mornings, prevents any “hangry-ness”, and in general allows more flexibility with eating and your schedule… which we all know just makes everyone happier.
That being said, we have survived for 2 weeks comfortably in a hotel with just a microwave and a hot water kettle. Creativity is key when it comes to vegan cooking around the world!
Traveling Vegan: How to Experience Local Food Culture
I often hear that some people are hesitant to become vegan because they still want to travel. They don’t want to limit the cultural experiences of their destinations… and that includes food.
Okay, straight talk. You make your own rules in life. Don’t let the ultra vegan purists stop you from at least making more vegan-directed choices. You can tell yourself that you want to eat vegan, but will allow yourself to eat whatever you want while traveling. Figure that part out when you get there. Don’t let the fear of the future stop you from making the choices that you want to make today. Okay, rant over.
Experience Local Food Culture: Shop Local to Eat Local
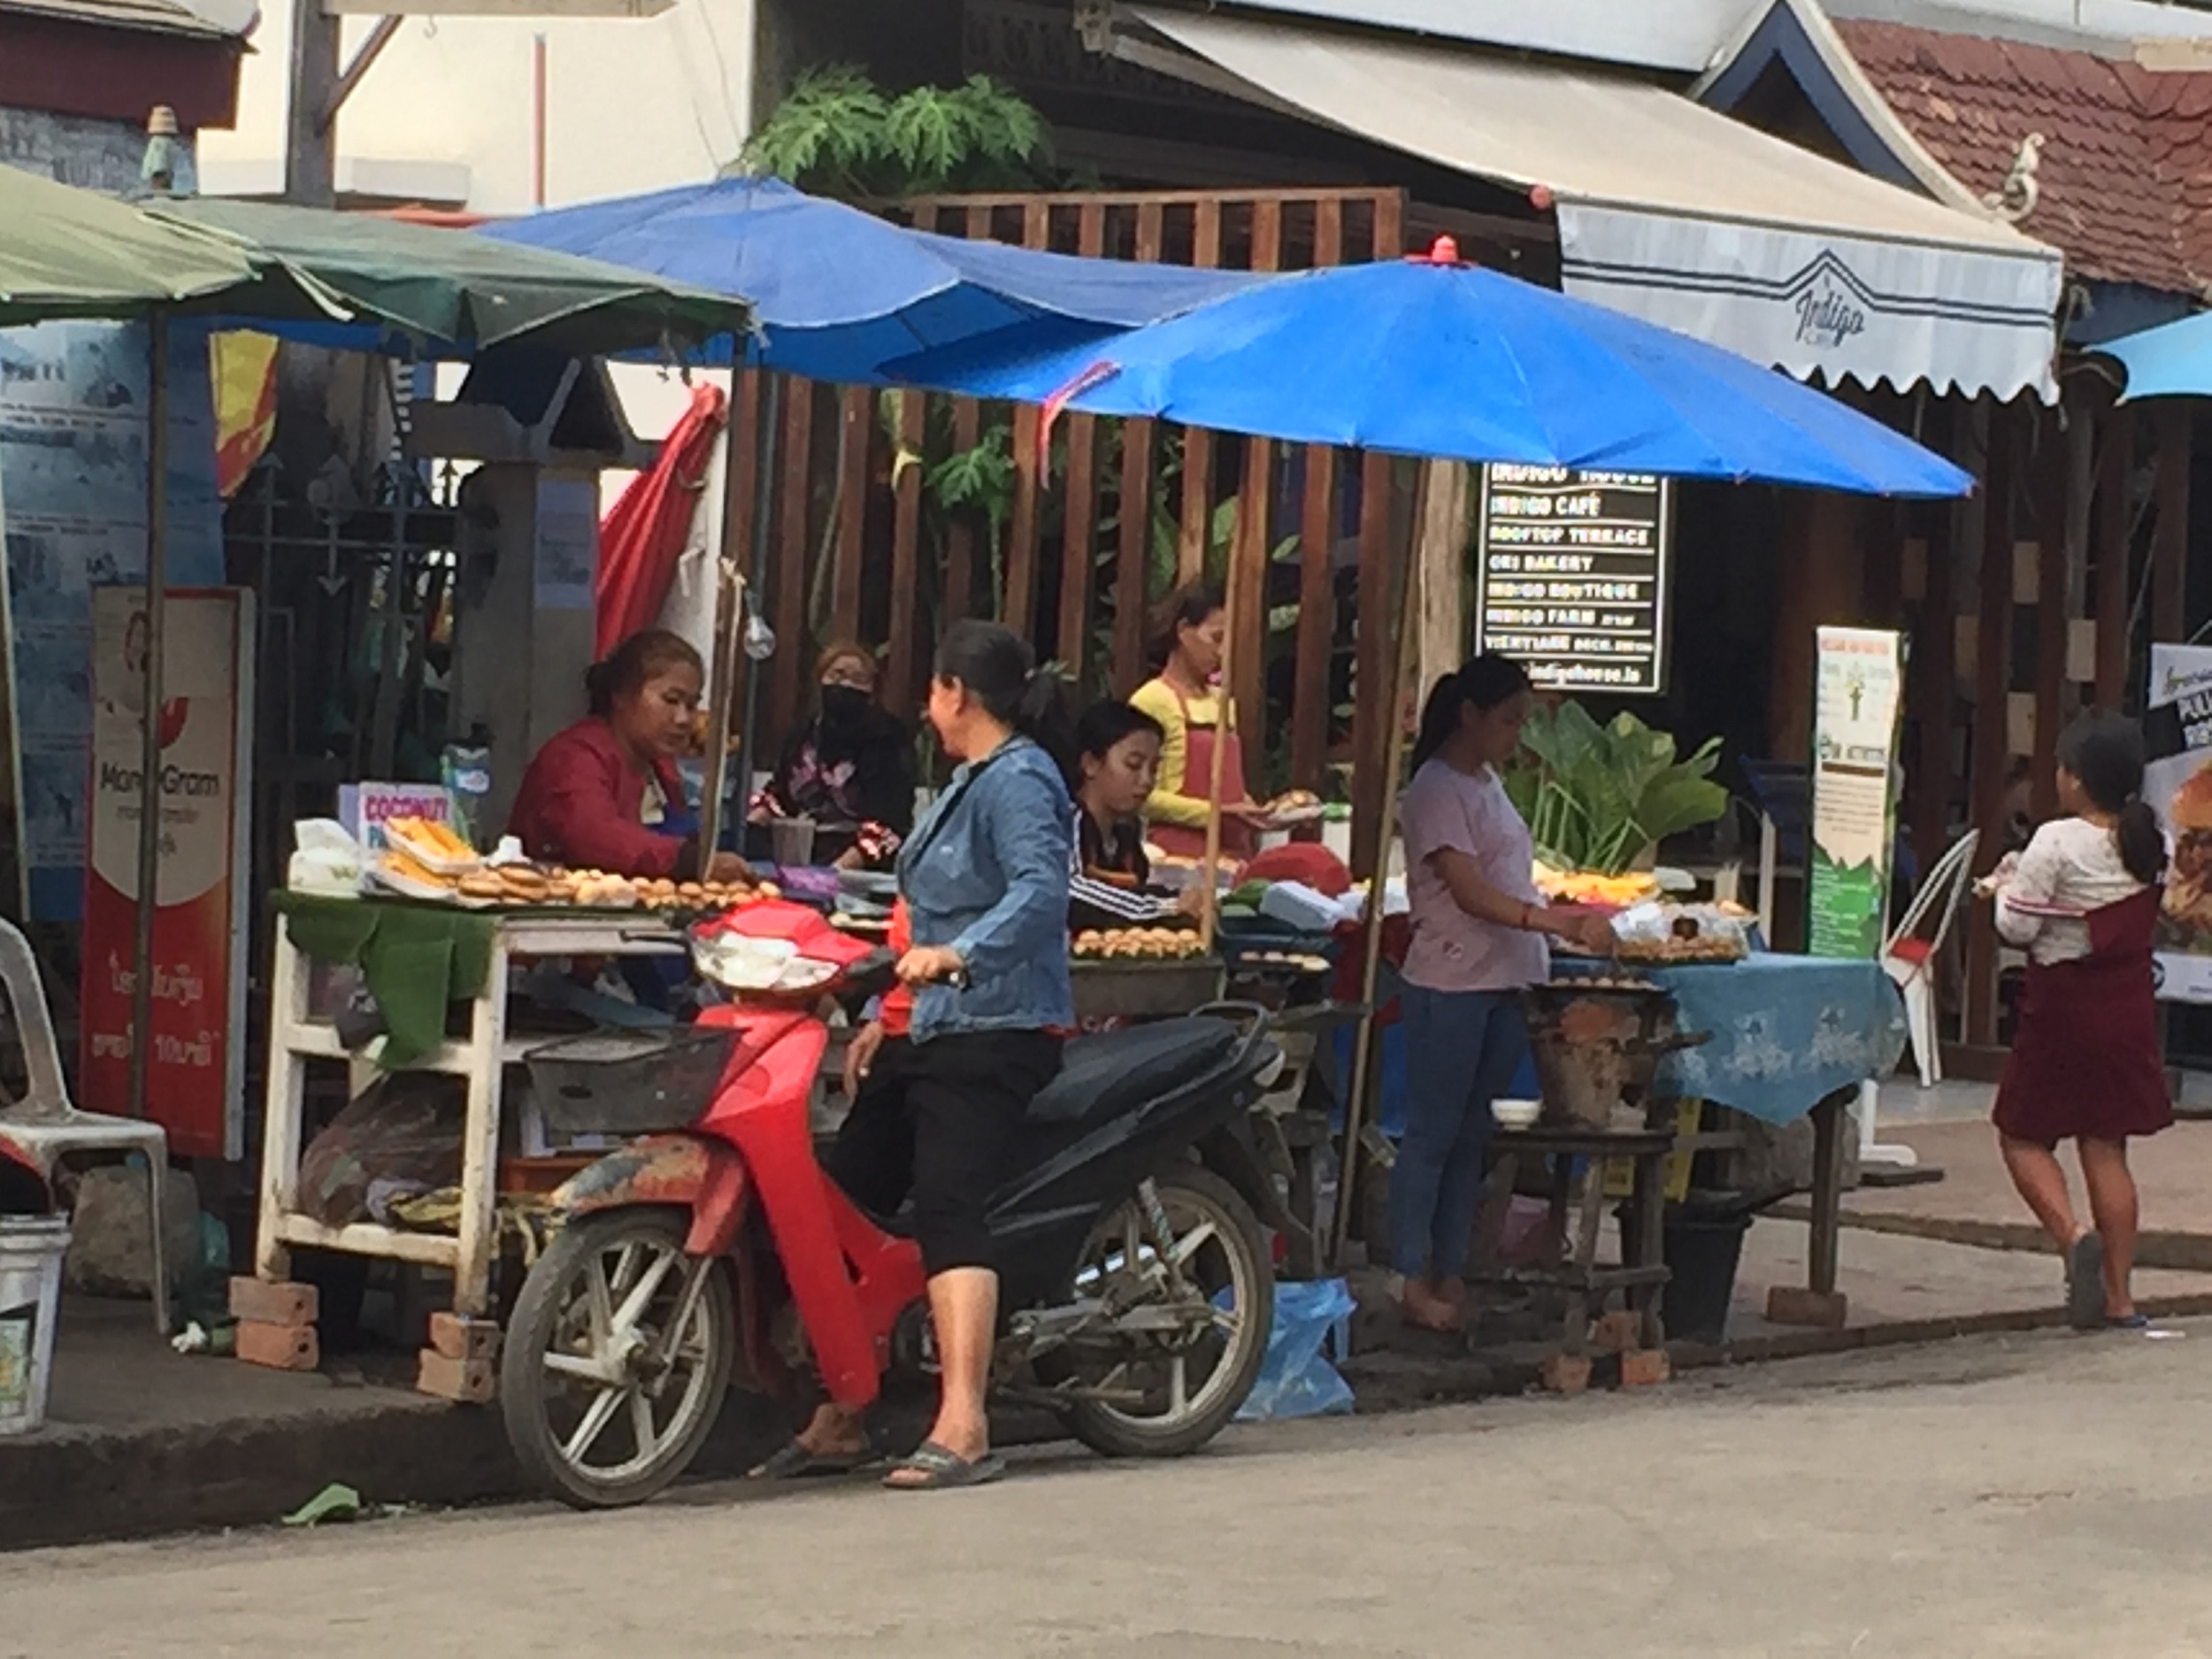
Traveling as a vegan doesn’t mean you can’t experience local food culture. When traveling, I buy most of my groceries from local markets, amongst locals, from people that don’t speak one word of English. Now that is culture.
I love finding the most obscure looking fruits and veggies, buying them, and then figuring out what in the world to do with them!
Sometimes that has created a few laughs. Like the cassava tortillas that I bought in Laos. They were so tough. I couldn’t figure out what to do with them! Finally, after taking a cooking class, I realized you needed to fry them, and then they were like tortilla chips! I had honestly never deep fried anything like that before. There’s a first time for everything! And, they were pretty delicious if I do say so myself.


Experience Local Food Culture: Take a Vegan Cooking Class
Another favorite tip of mine is to find a local vegan cooking class. I find them either through some Google searching or in Airbnb experiences.
I’ve taken vegan cooking classes in Thailand, Laos, and Vietnam. They show you how the local culture uses various ingredients and how to cook vegan versions of local dishes.
You’ll learn about local dishes that are accidentally vegan, and meals that could be hiding things like fish or oyster sauce. That way, if you are at a restaurant, you know what substitutions to ask for, or to omit these ingredients completely.
In some experiences, it’s also been a perfect opportunity to talk one-on-one with a local and learn a more in-depth take on the culture that I’m visiting. This was so special to me in Vietnam, where I had a one-on-one class with a woman from a nearby village.
Since there was no one else in the class, she sat down and ate our creations with me. First of all, that was helpful because she showed me how to eat these dishes, but also because it was a time to relax and share a bit about ourselves. I learned so much about her history, female expectations from her family, the differences in culture from the rural areas to the city, etc.
This particular class was in Hanoi and run by Rose Kitchen. Highly recommended!
You always go home with an entire cookbook of local recipes as a souvenir. I try to take these classes earlier in my trip. I can then buy the necessary ingredients at the local market and cook these recipes back at our accommodation. You also then have the insights needed for knowing what to order when you eat out.


Experience Local Food Culture: Join a Local Vegan Facebook Group
First of all, if you don’t already know about Happy Cow, be sure to check out what restaurants their website has listed for your destination. Not all the restaurants will be “local” food, but it’s a good starting place for planning your vegan food while traveling.
But there are other resources available online other than just Happy Cow. I’ve joined a number of Facebook Groups (like Vegan - Vegetarian - Organic Hanoi) to get insider tips on where to eat, where to shop, and vegan-friendly events in the area.
Easy Vegan Meals You Can Make While Traveling Anywhere
Aside from learning to make local dishes, though, there have been a few key meals for us that can usually be created in anywhere in the world. I always emphasize, though, that the goal is to make a tasty meal, not the exact meal you would make at home. You will have to make substitutions. You may have to include ingredients that don’t traditionally belong in that dish. But as long as it tastes good, I consider it a win.
I’ve cooked these vegan meals in a hotel room in Hanoi, in a campervan in New Zealand, at an outdoor kitchen in Bali, and tent camping in Australia.
They’re pretty versatile, as long as you’re willing to adapt and be flexible. These recipes can help you to cook vegan meals while traveling anywhere.
Curry
Curry is one of those vegan meals that is set up for versatility. You only need a few key ingredients, and the rest can be a “what’s left in the fridge” kind of meal.
Ingredients you need:
- Curry powder
- Paste works as well, but you then run the risk of it containing fish or oyster sauce.
- Coconut milk
- Rice (or any grain)
- Veggies
- Veggies can include anything you can find! Some of my favorites include onion, potatoes, squashes or pumpkins, sweet potatoes, broccoli, cauliflower, green beans, zucchini, and eggplant.
Bonus Ingredients:
- Tofu
- Beans
Equipment you need:
- A knife and cutting board
- A stovetop
- At least one pot or pan
Bonus Equipment:
- An additional pot or pan
- A can opener for your beans and coconut milk
- If you don’t have a can opener for the coconut milk, just take note of this before heading to the store. You can usually find one for cheap, and it’s worth the purchase over the headache of finding a creative way to open the can.
Directions:
If you only have one pot, cook your grain first and set aside in a bowl or straight into your eating dishes. If you have more than one pot, get your grain cooking when you start to cook your curry.
- Cut your veggies into bite-sized pieces
- Sautee your veggies - Add the veggies that will take longer to cook first. Like potatoes, squashes, or carrots. Ingredients like zucchini or eggplant can wait till later.
- Mix in the curry powder - The amount depends on how many veggies you’re cooking up. I’ll usually start with approximately a tablespoon, and then I’ll add and adjust from there.
- Add enough water to cover the veggies
- Simmer until all veggies are cooked through
- Add the beans if you’re using them
- Stir in the coconut milk (Start sparingly, taste, and add slowly until you like the consistency). Too much coconut milk can take over the flavor of the dish and make your curry incredibly rich!
- Add salt and pepper to taste
- Serve atop your grain and with any greens you'd like


Stir-fry
Stir-fry can be another “what’s left in the fridge” kind of meal… or while traveling, it’s more like “what I found at the market”. Don’t get caught up on all the veggies being typical stir fry veggies. If you like it and it’s available, throw it in!
Ingredients you need:
- Veggies - Anything you can find! Favorites for stir fry include onion, mushrooms, broccoli, green beans, corn, carrots, bell peppers, eggplant, snap peas, and bok choy.
- Rice, Noodles, or Any Other Grain
- If there aren’t rice noodles, use spaghetti noodles! Be prepared to be flexible, though you’ll likely find some form of rice or noodles anywhere in the world.
- In a pinch, I’ve also served stir fry over some baked or boiled potatoes. Not traditional, I know, but still delicious, which is the end goal after all.
- A sauce - Remember, flexibility is key. You'll want to include some element of (1) Salty, (2) Acidic, and (3) Sweet. My ideal base sauce includes:
- Soy sauce
- Rice Vinegar
- A sweetener
- Water
Bonus Ingredients:
- Tofu
- Sriracha
- For the sauce:
- A thickener (like flour or starch)
- Garlic
- Ginger
- Sesame Oil
Equipment you need:
- A knife and cutting board
- A stovetop
- A skillet (or a large pot will do)
Bonus Equipment:
- An additional pot
Directions:
- Get your grain or noodles cooking first, as the veggies tend to cook quickly
- Cut the veggies into bite-sized pieces
- Sauté your veggies in water until they’re about half-cooked - Add the veggies that will take longer to cook first. Like mushrooms, sweet potatoes, or carrots. Ingredients like zucchini or eggplant can wait till later.
- Mix your sauce ingredients in a bowl (whisking with a fork will do just fine) - To find the right ratio of salty, acidic, and sweet, you’ll need to play around with it a bit. Start slow and taste as you go! You can always adjust once you’ve added the sauce to your meal as well.
- Add the sauce to your veggies. Simmer for a few minutes until it cooks down a bit.
- Serve atop your grain and enjoy!


Pasta
Could you get any easier than sauce and noodles? Throw in some veggies to make it a complete meal, and voila! Dinner is served.
Ingredients you need:
- Noodles
- Jar of pasta sauce or can of diced tomatoes
- Veggies
- Anything you can find! But some favorites include onion, sweet potato, squash or pumpkin, zucchini, mushrooms, eggplant, bell peppers, and olives.
Bonus Ingredients:
- Herbs - Especially helpful if you’re using diced tomatoes instead of sauce
- Garlic
- Nutritional Yeast
Equipment you need:
- A knife and cutting board
- A stove-top
- At least one pot
- If you only have one pot, you’ll need to cook the noodles first, set them aside, then cook the sauce. You can either add the noodles to the pot at the end, or just let the sauce reheat the noodles on your plate.
Bonus Equipment:
- Colander
- If you don’t have one, just carefully pour the water out of the pot with the lid slightly ajar. This is easier for noodles like penne or rotini, but more difficult with spaghetti, as those are thin, slippery little suckers. Still doable, but a bit more of a headache.
- Can opener (if you’re using a can of diced tomatoes instead of a jarred pasta sauce)
- Additional pot for cooking your noodles at the same time as the sauce.
Directions:
- If you only have one pot, cook your noodles according to the package directions and set them aside.
- Chop your veggies into bite-sized pieces.
- Sauté your veggies that have longer cooking times first. Things like sweet potatoes, squashes, and pumpkin.
- Once the slower-cooking veggies are nearly there, add in the quick-cooking veggies. Things like zucchini and eggplant.
- Add in any herbs you have at this time along with your tomato base.
- If you’re using diced tomatoes, you’ll want to make sure the tomatoes simmer for a bit with the sauce. So when you mix in the quicker-cooking veggies like zucchini and eggplant, add the diced tomatoes at the same time. You may need to add some water to get the desired consistency.
- If you’re using a premade pasta sauce, sauté the quicker-cooking veggies for a bit, then mix in the sauce and bring to a simmer, just to heat it through. The sauce doesn’t need to simmer at all. You may need to add some water to get the desired consistency.
- If you’re using olives, feel free to add the olive liquid to your sauce. It helps to add more depth and flavor to the sauce.
- When you have a sauce that you’re happy with, serve on top of the noodles. Sprinkle with your (optional) nooch, and enjoy!

Burgers
Okay, I know this one is less likely to be possible in some places abroad. I don’t think we ever made burgers in the Asian countries we visited. But still, they are a great go-to meal in countries like the United States, Australia, and New Zealand. I’m sure European countries would have options as well, but we’ve yet to take a family trip there.
Ingredients you need:
- Vegan burger patties
- Buns or Bread
- Veggie Toppings
- Tomatoes, pickles, onions, etc.
- Condiment toppings
- Mustard, vegan cheese, hummus, guacamole, etc.
- Potatoes
- I make fries if I have an oven. If I only have a stovetop, I just make mashed potatoes! Remember, the main goal is having a delicious meal, not having it be exactly as you'd make it at home.
- Veggie side dish
- I often do a salad, but some steamed broccoli or something would go nicely as well. Or in a pinch, you could just eat the broccoli like Elsie did, haha!

- I often do a salad, but some steamed broccoli or something would go nicely as well. Or in a pinch, you could just eat the broccoli like Elsie did, haha!

Bonus Ingredients (for mashed potatoes):
- Garlic powder
- Plant-based milk or sour cream
Equipment you need:
- Stovetop
- Knife and cutting board
- A pot (if making mashed potatoes)
- A skillet (if you can’t bake the burgers)
Bonus Equipment:
- An oven
- Baking trays
- Parchment paper
Directions:
- If you only have a stovetop:
- Wash and quarter the potatoes (no need to peel if you wash them thoroughly)
- Place in a pot and cover with water
- Bring to a boil and simmer until the potatoes are tender
- Drain the potatoes
- Mash the potatoes with a fork or the bottom of a drinking cup (probably best to avoid glass with this)
- Mix in your desired flavors - Things like Sautéed onions, garlic, salt, plant-based milk or sour cream, etc.
- Cover the potatoes and set aside
- Pan-fry the burgers as directed on the package
- If the burgers aren’t too crumbly, you could also try heating them in a toaster. Though that’s certainly taking a risk if you don’t have any spares!
- Assemble your burgers with buns or bread, and your desired toppings
- If you have an oven:
- Wash and chop the potatoes into wedges or fry-shapes (no need to peel if you wash them thoroughly)
- In a bowl, toss the potatoes with any spices and flavors you have on hand. I love adding a bit of vinegar or soy sauce so the spices will stick more easily. Then I’ll add things like garlic, salt, cumin, chili powder, etc. But just salt will do!
- Arrange them on the baking sheet… or just dump them on and spread them out as evenly as possible, ha!
- Bake until starting to bubble and brown.
- Bake the burgers according to the package instructions
- If you’re making a salad:
- Chop up your veggies and greens
- Add a dressing - You can either buy a store-bought one, or get creative. One of my favorites is combining hummus with salsa!
- If you’re steaming veggies:
- You likely won’t have a steamer basket. No problem!
- Add your veggies to the pot, and add about half an inch of water to the bottom.
- Steam as usual, keeping an eye on the water to make sure it doesn’t all evaporate. If it does, you’ll burn the bottom of your pan!
- You don’t want too much water, though, because you’ll end of with boiled vegetables. Which is fine, but not as tasty in my opinion.
- Toast your buns or bread in the oven or toaster if desired
- Add your toppings (sliced tomatoes, pickles, mustard, etc.)
- Serve with your potatoes and your salad or steamed vegetable.


Savory Oats
Oats? For dinner? Yep! Oats are a go-to, easy-to-prepare, in-a-pinch meal for us.
Ingredients you need:
- Oats
- Flavorings (see below)
- Veggies - Anything goes!
You can flavor the oats anyway you’d like. They’re really just another grain, like rice, quinoa, or couscous. Here are a few options:
Italian inspired savory oats:
- Mix the oats with a can of diced tomatoes and some Italian herbs, garlic, and salt.
Mac N’ Cheese inspired savory oats:
- Mix the oats with garlic powder, onion powder, nutritional yeast, and salt
- Plant based milk goes well with this one if you have it, but water will do just fine!
Asian-Inspired savory oats:
- Mix the oats with some peanut butter, soy sauce, some kind of vinegar, and sriracha.
Equipment you’ll need:
- A microwave, hot water kettle, or stovetop
- A knife and cutting board
Bonus Equipment:
- A skillet for cooking up your side veggies
- We’ve had this meal with raw veggies a few times in hotel rooms, though. Some things like kale will cook a bit when you add the hot oats.
Directions:
- If you have a microwave:
- Add the oats and flavors to a bowl.
- Mix in some water. I don’t have measurements here, because it depends on what flavors you’re doing, the consistency of your oats, and if you prefer your oats thicker or more watery.
- Chop your veggies, and either mix them in for some of the microwaving, or add them raw at the end
- Microwave until the desired amount of water has been absorbed. Add more water as necessary.
- Be prepared to keep an eye on them and adjust as you go!
- If you have a hot water kettle:
- Quick Oats (rather than rolled oats) work best with a hot water kettle
- Add the oats and the flavors to a bowl.
- Boil some water in the kettle, and pour the desired amount of water to your oats. Start with less than you think you’ll like, and add as you go.
- Cover the bowl with a plate and allow the oats to sit until the desired amount of water has been absorbed.
- Chop up your veggies and mix them in with the oats.
- You could also play around with adding your veggies before you add the boiling water, and this will help your veggies to steam a bit.
- Veggies that would work best with this include quick-cooking veggies like zucchini, some cherry tomatoes, kale, or finely chopped broccoli.
- If you have a stove-top:
- Chop your veggies and sauté in a skillet
- Add the oats, flavors, and water to a saucepan
- Bring to a boil, and simmer until the desired amount of water has been absorbed.
- Adjust the water content as you go, making sure you don’t burn the oats to the bottom of the pan… or you’ll be running to the store for a serious scrubby brush!
Buddha Bowl
And finally, the trusty ole Buddha Bowl. The ultimate meal in the “whatever’s in the fridge” category of meals.
Below is what you’ll need for a Buddha Bowl. Obviously, you don’t need all these ingredients. To me, a Buddha Bowl is just a variety of flavored food that makes up a complete meal.
You’ll need to adjust what you add based on what kitchen equipment you have. A Buddha Bowl is essentially a glorified salad. But it can be incredibly satisfying and delicious. Don’t be afraid to get creative. And flavor the heck out of whatever you have available to you! Garlic, spices, salt, vinegars, etc.
Ingredients you’ll need:
- A grain or a starch
- Stove top: Rice, quinoa, potatoes, sweet potatoes
- Microwave or hot water kettle: Cous cous, oats
- Oven: Potatoes, sweet potatoes, squash (kind of an in-between starch and veggie to me)
- A “Protein”
- Tofu, beans, lentils
- A Green
- Kale, spinach, lettuce, arugula
- Vegetables
- Sauteed, roasted, steamed, raw, or a combination of all the methods!
- A Sauce
- Hummus and salsa, tahini and lemon juice, the peanut butter sauce from the oat recipe, a store-bought salad dressing, etc.
- A lot of times, we’ve even bought cans of premade soup (something creamy like pumpkin works well) and used that as our sauce!
I’m not going to give directions for this one. Just creative and have fun with it!
Vegan Travel Food: Additional Tips
Leftovers
Don’t forget to think about leftovers. If you’re going to end up with leftovers, how will you store them?
You can usually store leftovers right in the pot if your fridge is big enough. Or in a bowl with a plate on top (instead of plastic wrap).
We've recently gotten some Stasher Bags, which are basically re-usable plastic-baggies. They're a step-up from your typical plastic bag, though, because these things are incredibly leak-proof. You can easily store sauces and even soups in them!
If you don’t have room for leftovers in the fridge, keep this in mind when you’re cooking your meal! Only cook and chop what you'll eat for that one meal.
Some Tips on Grains
If you only have one pot, consider finding couscous. For couscous, you simply add boiling water, cover, and let it sit. You don’t need to simmer it at all. Therefore, you don’t need a pot dedicated to the couscous. You can use a bowl and cover it with a plate.
Rice noodles are another great grain if you only have one pot. Check the instructions, but many of them only require you to add boiling water and let it sit for a couple of minutes.
Grains are all about ratios. You don’t need measuring cups. You just need to have the right ratio. So if I’m cooking rice, I just fill up a drinking glass with rice. Then I add two glassfuls of water to my pot.
Grocery Shopping When You Don’t Speak the Language
Utilize Google Translate. Google Translate isn’t just for spoken word. Did you know you can aim your phone at an ingredients list, and it will translate the ingredients before your very eyes?
It’s a pretty amazing tool. If you’re ever questioning the ingredients, like in a curry paste, simply scan the ingredients list and see what comes up. See the word fish? You can quickly move on.
This is one of the most useful tools that makes cooking vegan while traveling so easy. That’s also why I encourage you to keep meals simple while traveling. Once you find your go-to vegan ingredients at the store or market, you don’t need to spend additional time in the aisles checking labels. Simply grab what you know is vegan and move on with your exploring!
Another grocery shopping tip? Veggies are always vegan 


No Salt? No Oil? No Problem!
Don’t have oil? No problem! Sauté vegetables in water. I do this at home anyway to make my meals healthier. You’ll just need to add a bit more water every so often since, unlike oil, water evaporates.
If you don’t have salt, try soy sauce. In a pinch, something acidic can also have a similar effect on the flavor of food. Something like vinegar or lemon juice.
Cook Whole Potatoes in a Microwave
Did you know you can cook a potato in the microwave? Wrap it in a dishtowel or washcloth, and cook for approximately 5 minutes. No need to poke holes.
Another quick meal idea could be to microwave some potatoes, and top them with some store-bought sauces like salsa, guacamole, or even hummus. Serve with a side of raw veggies and hummus, and you have yourself a complete hotel-made meal!
Bring Your Own Knife
We pretty much always travel with our own knife (and sometimes cutting board). The knives at rentals tend to be pretty dull and useless. If you’re going to be chopping up a lot of veggies for dinners, you’ll be thankful to have brought your own.
We created a sheath out of cardboard for the safe travel of our knife in suitcases. You don’t need anything fancy, but remember not to bring it in your carry-on!
That’s it! I’d love to know what your go-to vegan travel tips meals are! Any failed recipes? Something you keep coming back to? Once you get the hang of it, coming up with meals on the fly can be done with your eyes closed… or half-closed like when you’re jet-lagged 😉
If you're looking for more vegan travel tips, check out my Vegan Travel page. Happy traveling my friends!
I have this knife guard. It works well.
https://www.amazon.com/W%C3%BCsthof-2783-Blade-Guard-6-Inch/dp/B06XWWPML3/ref=sr_1_47?crid=25SNWBWPKI7R2&keywords=paring+knife+guard&qid=1702515033&sprefix=paring+knife+shield%2Caps%2C170&sr=8-47
Amazon has many different options for kinfe guards